Spray painting requires optimal conditions for the best results. Temperature plays a crucial role in ensuring smooth application and proper adhesion. Cold weather can cause the paint to thicken, making it difficult to apply evenly. It can also prolong drying times and lead to a poor finish.
For these reasons, it is essential to spray paint in temperatures above 50°F (10°C). This ensures the paint flows well and adheres properly to surfaces. Always check the product guidelines for specific temperature recommendations. Proper preparation and adherence to temperature guidelines will help achieve a professional finish.
Ideal Temperature For Spray Painting
Spray painting can be tricky in cold weather. Understanding the ideal temperature is crucial. Cold can affect paint adhesion and drying. This section covers the optimal conditions and temperature ranges for spray painting.
Optimal Conditions
For the best results, spray paint in the right conditions. Choose a day with low humidity and mild temperatures. These factors ensure the paint adheres properly and dries evenly.
Here are some optimal conditions for spray painting:
- Temperature between 50°F and 90°F (10°C and 32°C)
- Low humidity levels
- Minimal wind
- Clean and dry surface
Temperature Ranges
The temperature range impacts spray paint performance. Too cold or too hot can cause issues. Below is a table showing how different temperatures affect spray painting.
| Temperature Range | Effect on Spray Paint |
|---|---|
| Below 50°F (10°C) | Paint may not adhere well. Drying time increases. |
| 50°F to 70°F (10°C to 21°C) | Ideal for most spray paints. Good adhesion and drying. |
| 70°F to 90°F (21°C to 32°C) | Still suitable. Be cautious of fast drying. |
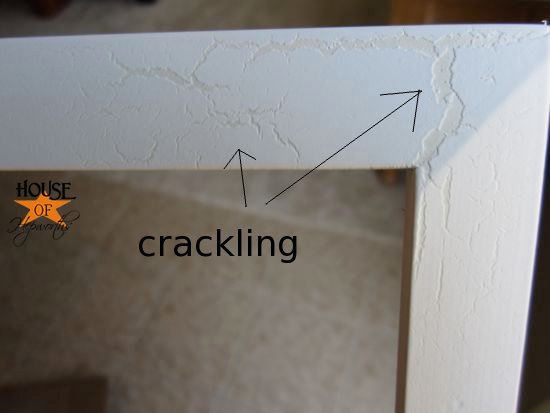
| Above 90°F (32°C) | Paint may dry too quickly. Can cause cracks. |
Understanding these temperature ranges ensures your spray painting projects succeed. Always check the weather before starting.

Why Temperature Matters
Temperature plays a critical role in spray painting. It affects how the paint dries and adheres. Understanding the right temperature ensures a smooth finish. This guide explains the key aspects.
Impact On Drying Time
Cold temperatures slow down the drying process. The paint may take hours or even days to dry. This can lead to smudges and uneven surfaces. A slow drying time also increases the chance of dust settling on the paint.
Below is a table showing the impact of temperature on drying time:
| Temperature (°F) | Drying Time |
|---|---|
| Above 50°F | 1-2 hours |
| 32°F – 50°F | 4-6 hours |
| Below 32°F | More than 6 hours |
Effect On Paint Adhesion
Paint adhesion suffers in the cold. The paint may not stick properly to the surface. This can lead to flaking and peeling over time. To ensure good adhesion, spray paint in a warm environment.
Consider the following tips for better adhesion:
- Warm the spray paint can before use.
- Keep the painted object in a warm space.
- Use a primer suitable for cold temperatures.
Proper adhesion is crucial for a durable finish. Always check the temperature before starting your project.
Challenges Of Cold Weather Painting
Painting in cold weather can be tricky. Temperature affects paint quality and drying time. Understanding these challenges helps ensure a smooth and lasting finish.
Common Issues
Cold weather presents several problems for spray painting. Here are the most common issues:
- Slow Drying Time: Low temperatures slow down paint drying. This can lead to drips and uneven layers.
- Thickened Paint: Paint can become thicker in the cold. This makes it hard to apply evenly.
- Poor Adhesion: Paint may not stick well to surfaces. This can cause peeling and chipping.
- Condensation: Cold surfaces can attract moisture. This can ruin the paint job.
Preventive Measures
There are ways to overcome these challenges. Follow these preventive measures:
- Check Temperature: Ensure the temperature is above 50°F (10°C). This is ideal for spray painting.
- Warm the Paint: Keep paint cans in warm water. This helps maintain the right consistency.
- Use Heat Lamps: Heat lamps can warm the surface and surrounding area. This helps the paint dry faster.
- Store Indoors: If possible, paint indoors in a controlled environment. This avoids cold weather issues.
By following these steps, you can achieve better results even in cold conditions.

Preparing For Cold Weather
Spray painting in cold weather requires special preparation. Cold temperatures can affect paint adhesion and drying time. Proper preparation ensures a smooth finish and longer-lasting results.
Equipment Needed
- Spray Paint: Choose a paint suitable for cold weather.
- Heater: Use a portable heater to maintain a warm workspace.
- Protective Gear: Wear gloves and a mask to stay warm and safe.
- Drop Cloths: Protect your workspace from paint spills.
Surface Preparation
Surface preparation is crucial for a successful paint job in cold weather. Follow these steps:
- Clean the Surface: Remove dirt and grease. Use a mild detergent and water. Let it dry completely.
- Sand the Surface: Sanding helps paint adhere better. Use fine-grit sandpaper.
- Prime the Surface: Apply a primer suitable for cold temperatures. Let it dry as per the manufacturer’s instructions.
| Step | Details |
|---|---|
| Clean | Remove all dirt and grease. |
| Sand | Use fine-grit sandpaper for better adhesion. |
| Prime | Apply cold-weather primer and let it dry. |
Tips For Successful Cold Weather Painting
Painting in cold weather can be tricky. The paint may not adhere well. It might take longer to dry. Here are some tips for successful cold weather painting. These tips help you achieve a smooth and lasting finish.
Choosing The Right Paint
Picking the right paint is crucial. Cold weather spray paint is specially formulated. It works better in low temperatures.
- Check the label: Ensure the paint is suitable for cold weather.
- Opt for fast-drying paint: This reduces the risk of imperfections.
- Avoid water-based paints: They can freeze in very cold temperatures.
Using the right paint ensures better results and durability.
Application Techniques
Proper techniques make a huge difference. Follow these steps for the best outcome:
- Prep the surface: Clean and dry it thoroughly.
- Warm the can: Keep the spray can at room temperature.
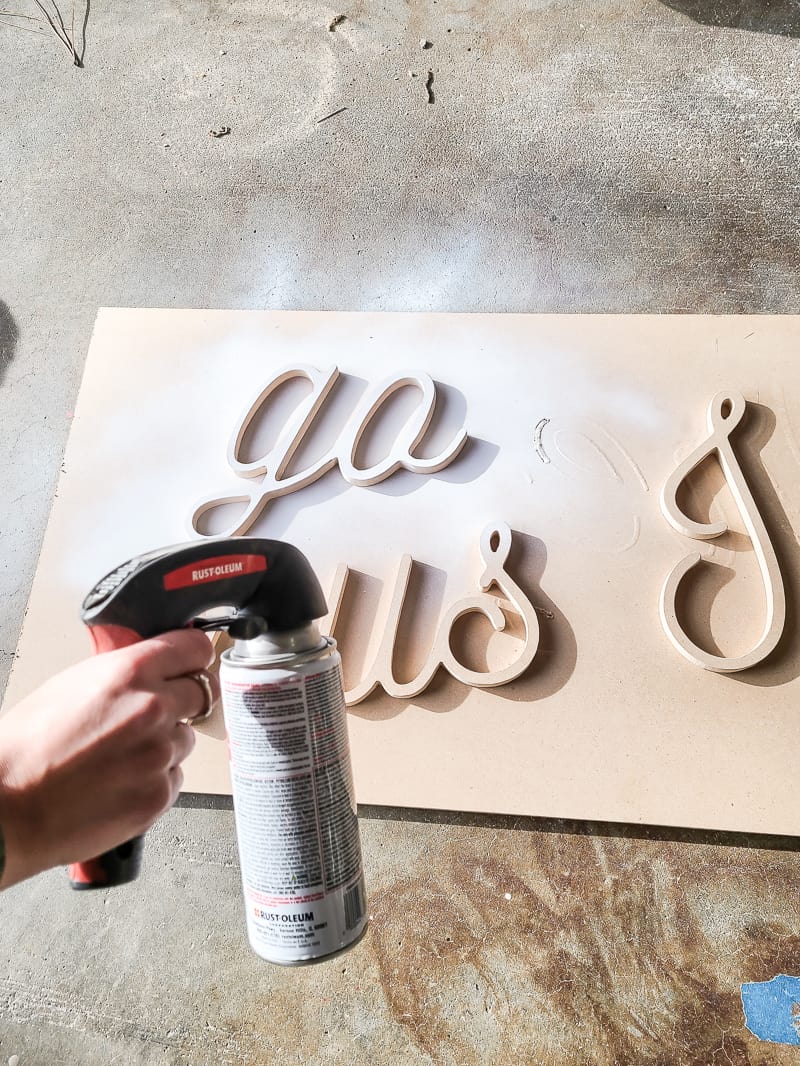
- Spray distance: Hold the can 10-12 inches from the surface.
- Thin layers: Apply several thin layers instead of one thick one.
- Drying time: Allow extra time for each layer to dry.
Following these techniques helps the paint adhere better and look smoother.

Alternative Solutions
When temperatures drop, spray painting can become a challenge. Cold weather can affect the paint’s performance and drying time. Understanding alternative solutions can help you achieve the best results despite the cold.
Indoor Painting
One effective solution is to move your project indoors. Indoor spaces usually maintain a more stable temperature, which is ideal for spray painting. Ensure the area is well-ventilated to avoid inhaling fumes. A garage or basement often works well for this purpose.
Set up a drop cloth to protect surfaces from overspray. Use painter’s tape to mask off areas you don’t want painted. This will help you keep your work area clean and organized.
Warming Techniques
If indoor painting is not an option, consider warming techniques. Use a portable heater to warm up the area where you plan to paint. Place the heater a safe distance from your project to avoid fire hazards.
Another method is to warm the spray paint can itself. Place the can in warm water for a few minutes. This helps maintain the paint’s consistency, making it easier to apply.
A third option is to use a heat lamp. Position the lamp to warm the surface you are painting. This helps the paint adhere better and dry faster.
| Technique | Details |
|---|---|
| Indoor Painting | Use a garage or basement with ventilation. |
| Portable Heater | Warm the area safely before painting. |
| Warm Water | Place the spray can in warm water briefly. |
| Heat Lamp | Use a lamp to warm the painting surface. |
Safety Precautions
Spray painting in cold weather requires special safety measures. Cold temperatures can affect paint performance and safety. Always prioritize your safety and the safety of those around you.
Protective Gear
Wearing the right protective gear is crucial. Cold weather increases the risk of frostbite and hypothermia. Ensure you wear:
- Warm, insulated clothing
- Gloves to protect your hands
- A hat to keep your head warm
- Safety goggles to protect your eyes
- A mask to avoid inhaling fumes
Always choose gear that fits well and allows movement. Avoid loose clothing that can get caught. Keep extra layers handy in case temperatures drop further.
Ventilation
Proper ventilation is essential. Spray paint fumes can be hazardous, especially in enclosed spaces. Ensure you paint in a well-ventilated area. If indoors, open windows and doors. Use fans to increase airflow.
Consider using a respirator mask for added protection. A respirator mask filters out harmful particles and fumes. Follow the manufacturer’s instructions for use and maintenance.
| Protective Gear | Purpose |
|---|---|
| Insulated Clothing | Prevents frostbite and hypothermia |
| Gloves | Protects hands from cold and paint |
| Safety Goggles | Protects eyes from paint splatter |
| Respirator Mask | Filters harmful fumes |
Keep these safety precautions in mind to ensure a safe spray painting experience in cold weather.
Common Mistakes To Avoid
Spray painting in cold weather can be tricky. Many people make mistakes that ruin their projects. Knowing what to avoid can save time and effort. Below are common mistakes to avoid while spray painting in cold weather.
Inadequate Preparation
Preparation is key for a successful paint job. Many people skip this step. They often forget to clean the surface. Dirt and dust can ruin the finish. Always clean the surface first. Use a damp cloth to wipe it down.
Another mistake is not sanding the surface. Sanding helps the paint stick better. Use fine-grit sandpaper to smooth the surface. Never skip sanding. It makes a big difference in the end result.
Priming is also important. Some people think they can skip it. Always use a primer before painting. It helps the paint adhere and last longer. Choose a primer suited for cold weather.
Ignoring Weather Forecasts
Many people ignore the weather forecast. This is a big mistake. Always check the temperature before starting. Spray paint works best between 50°F and 90°F. Anything below 50°F is too cold.
Humidity also affects spray painting. High humidity can cause the paint to dry slowly. Check the humidity level before you start. Ideal humidity is between 40% and 70%.
Wind can also ruin your paint job. Avoid painting on windy days. Wind can blow dust onto your wet paint. It can also make the paint dry unevenly.
| Temperature | Humidity | Wind |
|---|---|---|
| 50°F – 90°F | 40% – 70% | Low wind |
By avoiding these common mistakes, you can achieve a professional finish. Proper preparation and checking the weather are crucial steps. Follow these tips and enjoy a smooth painting process.
Frequently Asked Questions
What Temperature Is Too Cold For Spray Paint?
Spray paint should not be used below 50°F (10°C). Cold temperatures can cause uneven coverage and poor adhesion.
Can You Spray Paint In Cold Weather?
It’s not recommended to spray paint in temperatures below 50°F (10°C). Cold weather affects paint consistency and drying time.
Why Is Temperature Important For Spray Painting?
Temperature impacts the paint’s drying and adhesion. Cold temperatures can cause the paint to crack or peel.
What Happens If You Spray Paint In Cold?
Spraying paint in cold weather can lead to improper curing, cracking, and uneven finish. The paint may not adhere well.
Final Verdict
Understanding the ideal temperature for spray painting is crucial for achieving a smooth finish. Cold weather can negatively impact paint adhesion and drying time. Always check the manufacturer’s guidelines for temperature recommendations. Proper planning ensures your spray paint projects look professional and last longer.
Stay informed and keep your tools ready for the best results.

